Thursday, September 1, 2011

Chinook moves again

After a two month break due to Prostate Surgery I am back on the job. Three coats of two pack white paint later and the bottom is looking good.

Before turning over I fixed a polythene strip down the full length of the keel strip. Not shown.
The rollover team after lifting from the jig. September 1, 2011

Getting closer to replacing the hull back on the jig.

There at last with Trevors fingers still under the boat.

The team. Trevor , Paul , John , Peter  and me. Thank you all for the help.

Coffee break after the lift.

Ready for the next stage, fitting out the internals.

Friday, April 22, 2011

Boat building tips I have learnt.

These comments are in no particular order and will be put down as I think of them. I hope they will be useful to some others who follow as I have found Blogs such as Perry Burton and Rick Corless.
* Epoxy mixing: To mix small quanities (which is most of the time) I use the lids of soft drink bottles or lids of old resin containers. They are cheap and available.
*  To clean your hands after a messy epoxy job I scrub them with clean sand and dishwashing detergent. Very effective.
* Making gains: Measure back 400mm from the stem and taper both the upper and lower plank with an angle grinder. Tidy up with a rabbet plane.
* As you may have noticed I have installed the planking on the frames by turning the boat upside down after the stringers were installed, this has been a real plus and I would strongly recommend it. As long as you strenghten the frames with some internal timber to prevent any distortion there should be no problems.
* I used Construction grade plywood for all of my build. In Australia see if you can get the Chilean Construction Plywood, from Bunnings, as it is a better grade than the local product. If there are some knots that have fallen out just fill them with epoxy, good as new.

Sunday, March 20, 2011

The turn over.

With the aid of my neighbor and his mates I have turned the boat over with no apparent ill effects. This will make it much easier to cut and install the planking.

Another milestone passed.
Plotting the first plank using the method from Rick Corless' blog.

First plank fixed on both sides.

There was no way that I could leave the screws in the plank while chamfering to take the next plank, contrary to the designers instruction.

Detail of the plotting on the template for the next plank.
April 22, 2011 and I have completed the planking, a good point to reach and worth celebrating. I have leant quite a lot in the process and will put together a page, "Tips of the day", not all my own ideas but a collection from various sources which may be helpful for any future Pathfinder builders.


The gains have made the bow quite streamlined and were very easy to do. The angle grinder is definately the boat builders best friend.

The plank overlaps at the transom look neat.


The bottom plank requires more hole filling then I will glass it and make the skeg.

I decided to install the skeg prior to glassing the bottom, it seemed to make more sense to me. I used Tasmanian Myrtle and blackwood laminated from 50mm wide by 35mm deep strips.

I am please with results. Next step is to glass the bottom and then paint before turning over.

Thursday, March 3, 2011

I have had my mate Peter over to help me install the stringers over the last couple of days and today we finished the last stringer. Very satisfying.

I installed a 19mm * 19mm Pine backing piece on the inside of the frames to support the ply to be installed later. Looks pretty neat.

As I soaked each stringer in water for an hour before fitting they went on like a dream, no cracking or stressing. Here I have installed a temporary wooden brace to hold the Port side bottom stringer while the glue sets.

With Frames 4 and 6 I found that it was necessary to install a small 9mm doubler to boost the strength of the 9mm frames. Without this the frames were just too thin to get the screws to hold.

Friday, February 25, 2011

The first stringer

Today I attempted, successfully, to install the first stringer on the port side. I used a small Electrolux Steamer (thanks to Mark Attard) to apply a little steam to the stringer which I had placed in the 75mm PVC tube you can see on the floor. The steam certainly made the pine stringer more pliable.

In place of clamps in some cases I used electrical cable to pull the stringer into the frame.

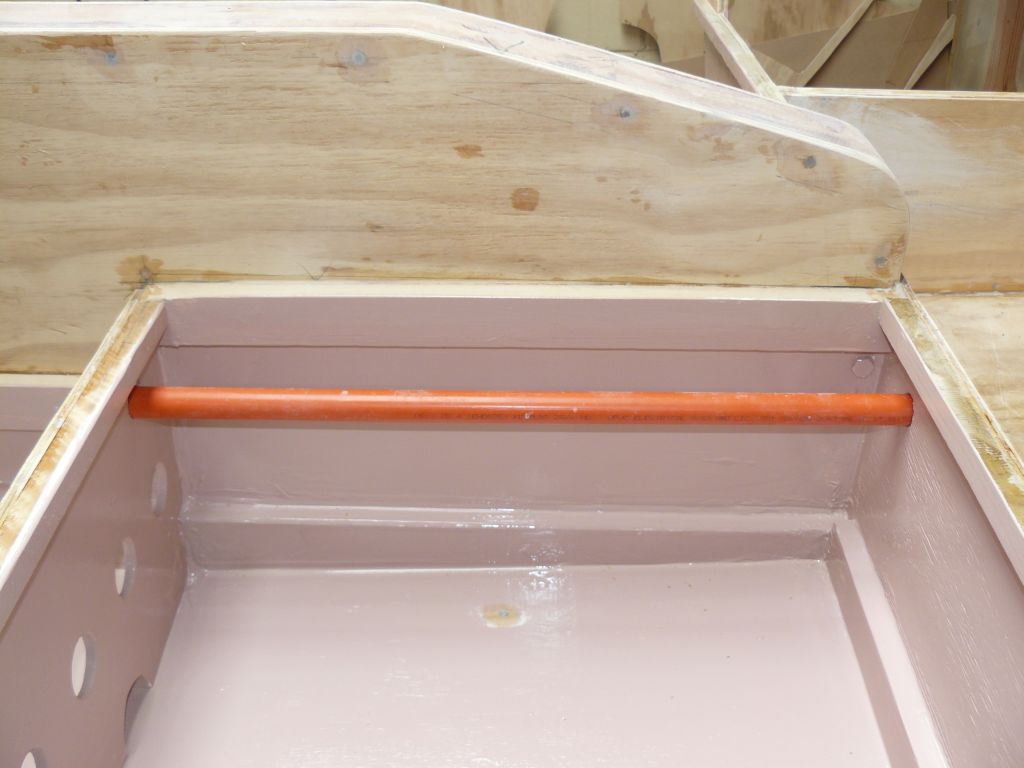
I have primed and painted the underfloor area as it is much easier now than after the stringers are in place. I will apply the final coat before the floor goes down.

I used the steamer by hand to apply a little more moister before srewing and glueing.

I have inserted two 25mm electrical conduits between the front floor area and cockpit to drain any splash water to the rear.

Sunday, February 13, 2011

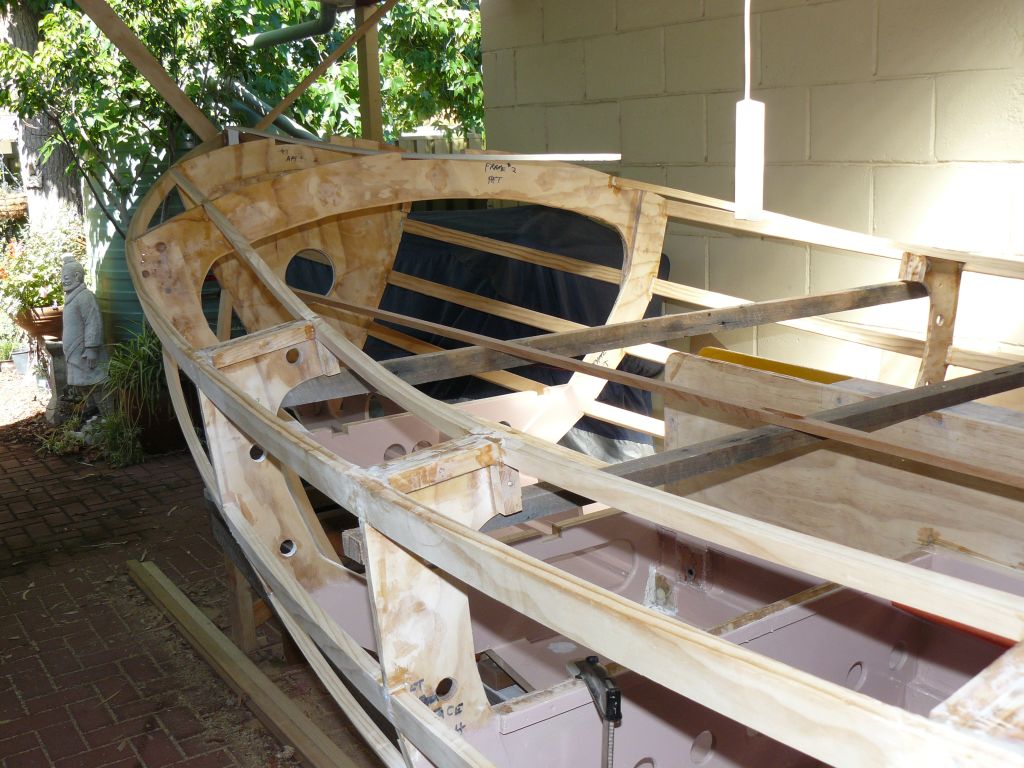
Looking like a boat

At last I have the frames mounted and fixed. I am pleased with the results.

Rather than install the seat fronts in two single pieces I split them with frame 6A. This was much easier than trying to cut and install them as a single unit and has not sacrificed any strength.

I decided to omit the access holes in the seat fronts so that the outboard area would serve as additional boyancy. 
Number one frame needed a little encouragement to keep it in line.

I will paint all of the under floor areas before proceeding with the installation of the stingers as access is much easier now.

Saturday, February 5, 2011

Rudder and stock. Slow progress today.

The laminated rudder blank.

The centre case is giving me a headache. First I had trouble getting the second coat of epoxy to cure. Apparently because I didn't wash down the previous coat. Lesson learned. Then I primed the epoxy with Acrylic Undercoat/Primer after a thourough sand and wash before painting with two coats of Yellow enamel. I hope that I have a chieved a good bond.

The rudder cheeks I fabricated from two layers of 9mm ply. I coated the ply with a good thick layer of thickened epoxy then screwed them together.

The rudder is made from 8 layers of softwood with one strip of Myrtle on the leading edge.