Monday, December 24, 2012

The official launch


My wife Mary doing the bubbly thing. Hey, not too much on the boat, save some for the guests! My son Paul is helping out.
By the way, are there any other Pathfinder or Navigator owners here in South Australia? I would love to hear from you.


Some, but not all of the 14 people who turned up for the launch.


As I mentioned in the previous post, I am not pleased with the crease in the mainsail but I'm working on that.


Monday, November 26, 2012

In the water at last


Well, today (26 November 2012) 0ne year and 11 months since I started the build, with the aid of my wife Mary and friend Peter, Chinook was placed gently into her natural element.
There was little wind but that was good as I didn't know what to expect.


Starting the outboard for the first time in eight years, No problems.At eight HP it is a little bigger than necessary but it was just sitting in the garage going to waste.


Hoisting the mainsail with two reefs in place. Overly cautious but better safe than sorry.


Yours truly at the helm for the first time. I plan to have an official christening soon,


My mate Peter taking in the salt air.
We did manage to get full sail up but there was so little air that we called it quits and motored back to the slip and called it quits.


A few days later we were back in the water for the official launch and Christening which went well. As you may notice, I still need to iron out a few rigging problems so that I can get the wrinkles out of the mainsail. ie, more tension on the peak and throat halyard.

Thursday, November 15, 2012

November 2012 Nearly finished


After quite a long hiatus I am back at work on the boat. Having reconsidered the pros and cons of using a dark coulour for the top strake, dark won out and I painted over the white  with Indigo Blue, the results are striking.


I mounted a good quality outboard bracket to hold my 8HP Evinrude and just have a few loose ends to finish off before getting the boat and trailer registered. I have found that rigging the boat and choosing the fittings has been the most difficult part of the entire build. I think that John could have included more detail in the plans. It has been a steep learning curve. I have had the mast and sails up twice and each time I have made minor adjustments to the rigging.

Friday, April 27, 2012

April 2012 update

Progress has been a little slow since my last post, other priorities have prevailed. My apologies to those who have been following my blog, sorry Neil!!
It is unlikely that I will launch before next spring but I will give my followers ample time to attend the occasion.
The spars are complete as you can see from the following few photos.


I had the tabernackle made from 3mm stainless steel. I am pleased with the results.


I made a cap to cover the open area of the centrecase.

The bobstay is made from 3mm ss chain.

SS fittings add to the finished look.

Sunday, February 19, 2012

February 2012 update. building the birdsmouth spars

This is the jig my friend Joe designed to make the birdsmouth cuts in all the staves to make the spars.
As the saw could only be set at 90deg. we made a 45deg. back board and fixed it to the guide then fitted feathered boards to keep the
staves in place while cutting. It was really quite easy.Having said that I stalled off making them for several weeks as I was unsure of the end result and didn't want to make a mess of them. As with most things to do with the build the anticipation was worse than the actual doing and I was well pleased with the result.
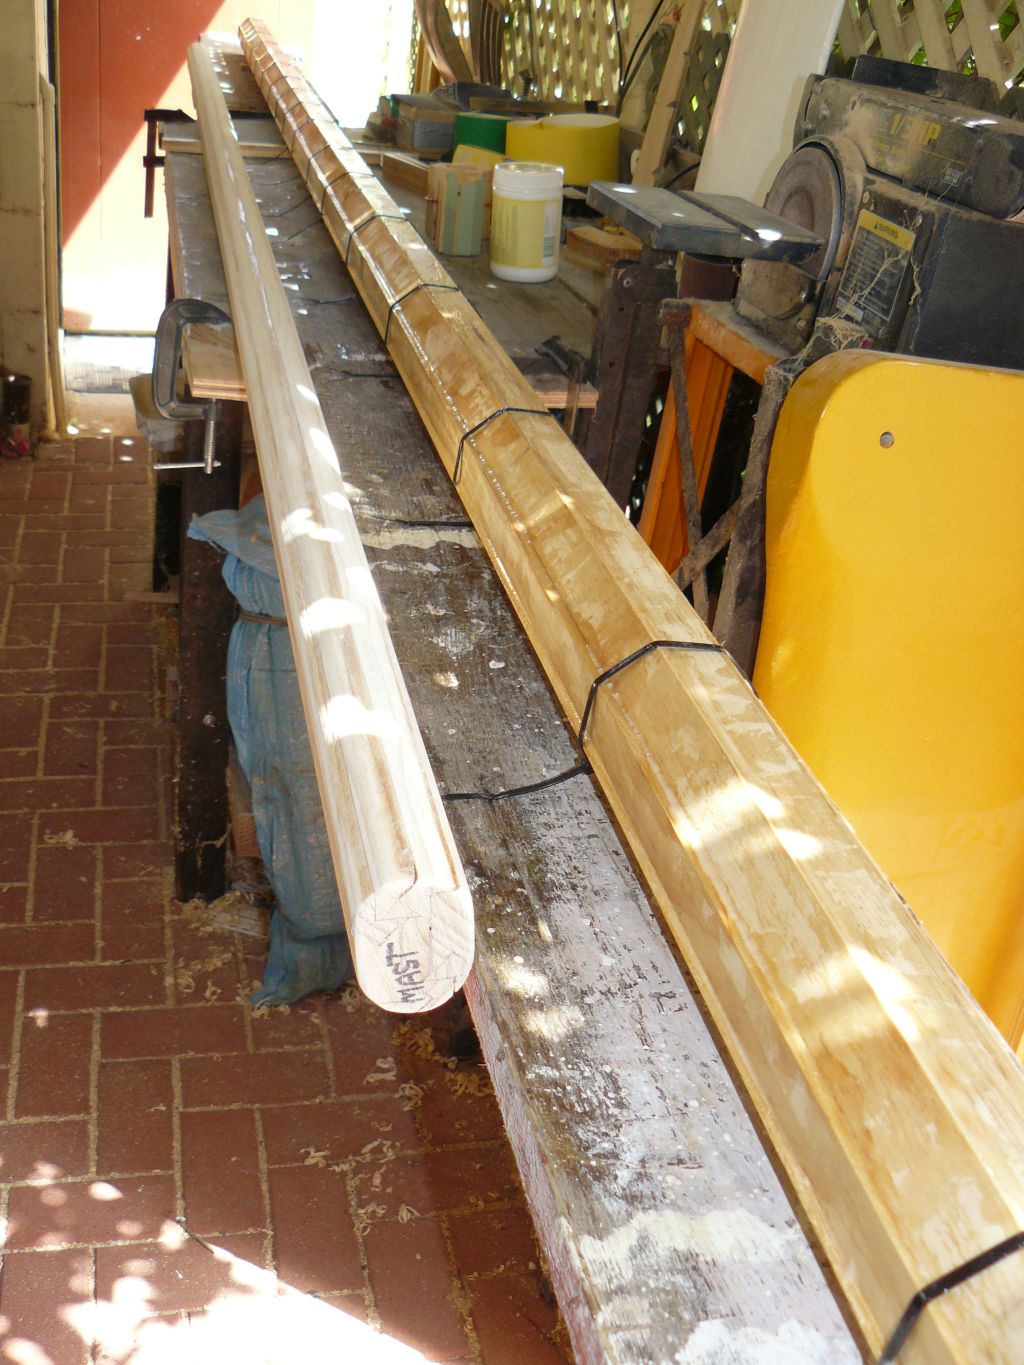
The boom after assembly with resin and electrical ties.

The boom after planing and the mast glued and fastened.
All spars were  made from clear, seasoned radiata pine with the following stave sizes.
Gaff: 8 off 19mm * 19mm
Boom: 6 off 19mm * 19mm and 2 off 42mm * 19mm
Mast: 8 off 32mm * 19mm
The end result was very staight and strong.

In the mast section I inserted a solid core at each end, 700mm long to provide strength where fittings are to be installed.
I filled the gaps with thickened epoxy to give a nice solid end finish.

The end view of the boom.

The gaff with jaws installed and painted.

Sunday, January 29, 2012

January 2012 progress

My mate Peter and me installing one of the rubbing strakes.

last shot of boat on the building frame

On the new trailer at last.

Friday, January 6, 2012

Painting and Tiller construction

After laminating the Huron Pine I then cut out the rough form for the tiller. Huron pine cuts like butter and looks like butter when oiled with boiled linseed oil.

The tiller in its' finished form after initial oiling.

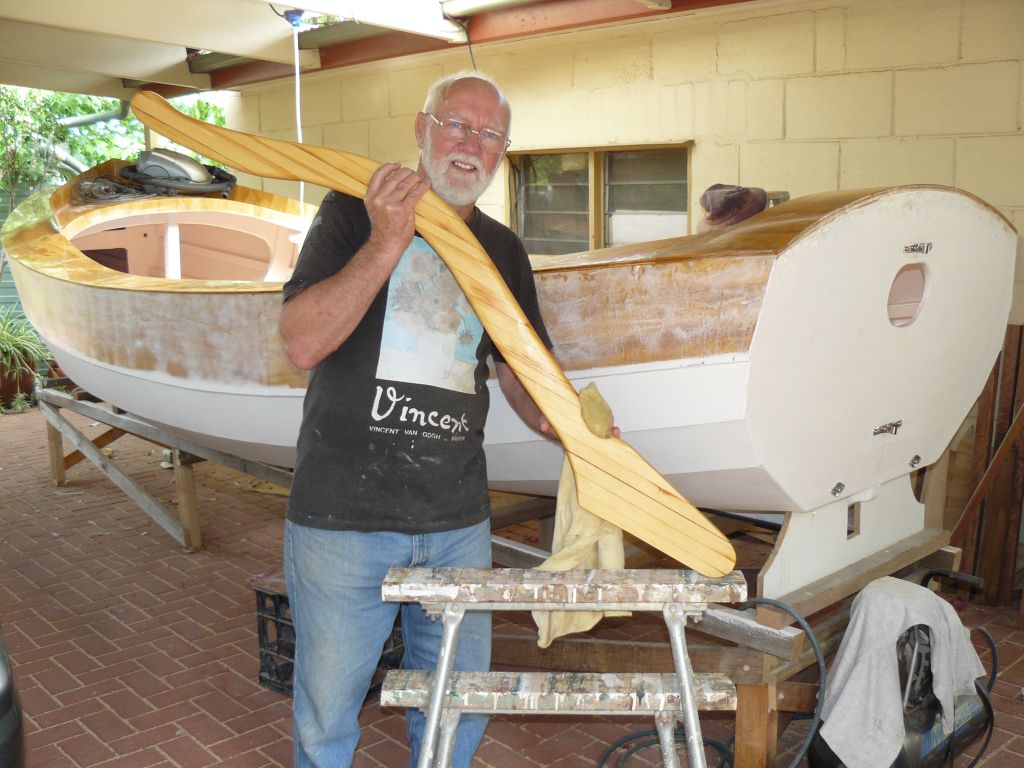
Posing with my new tiller, but I should be painting.

Seriously applying a coat of filler/primer paint.
Installing the Port side rubbing strake with the aid of my Canadian friend Wes who was visiting Australia in December.

Tuesday, November 15, 2011

Final stages of the hull construction

Ready for the decking.

The flooring and seats installed with cutouts for storage.

Installing doublers under the seat edge.

Installing doublers under the transom front. I have made cutouts for small round access hatches in all of the seats.

I installed a compression post under the mast step.

The beginnings of the tiller made out of Huon Pine.
I have reached the stage where I must finish the interior painting and then I can install the coamings. Then the hull will be complete.

The deflector on the fore deck was guite tricky to build and I would like to have made it angled forward but that was more than I could manage, or perhaps I was just too lazy. I still have to buy timber for the rubbing strakes and then install them.

Monday, October 10, 2011

Inside paint and floor install

I added two small 20mm boards on either side of the spine to allow the fixing of fittings on the floor. Also, I added additional transverse floor bearers to spread the weight more evenly.

The King plank has been fitted with extra length which will be cut after the deck is installed. A hardwood riser will be installed to support the load of the mast above the deck. Note! also, I installed two additional deck supports to ensure no warping of the deck due to enthusiastic crew movements. The floor has been fixed down with silicone and screws and then sealed with silicone around the edges.

Note the false frame just in front of the transom to support the rear deck. I have painted all underfloor areas with primer and two coats of good quality outdoor house paint. The wet areas with have two coats of epoxy and then two coats of two pack tank coating, the same as the outside hull.


I have made allowance to install tow 30kg lead bars for extra ballast and you can seethe mounting blocks ready for the bars.